
The outer bearing races need the castellations machining. These act as the locking points for fine tuning the bearing adjustment. There are 35 such castellations and combined with a 26 tpi thread means that advancing one notch adjusts the bearing clearance by 1/910th of an inch. The castellations are machined at a 45 degree angle so that the locking tab, also machined at the same angle will sit flush in it's locating groove. More later.
Holding each race to machine these notches proved tricky, I initially tried to grip the threaded area in a three jaw chuck, protecting the threads with a soft copper strip. This approach proved unsatisfactory on so many points that I quickly gave it up. The machining tended to pull the workpiece from the chuck and clearance was not possible where the jaws gripped. Also three jaw chucks aren't accurate enough to properly centre the workpiece for the tolerances I wanted. So I needed to made a one off chuck to hold the races. First I machined the thread to screw the chuck directly to the Myford's register, the Myford nose has a 1.125" X 12 tpi thread. Then with the new chuck mounted onto the nose I could machine the internal thread to hold the bearing race, this has the advantage that I am guaranteed that both threads are concentric and hence that the race will be held perfectly concentrically. I also need to bevel the outer edge to allow clearance for the slitting saw to cut the grooves.
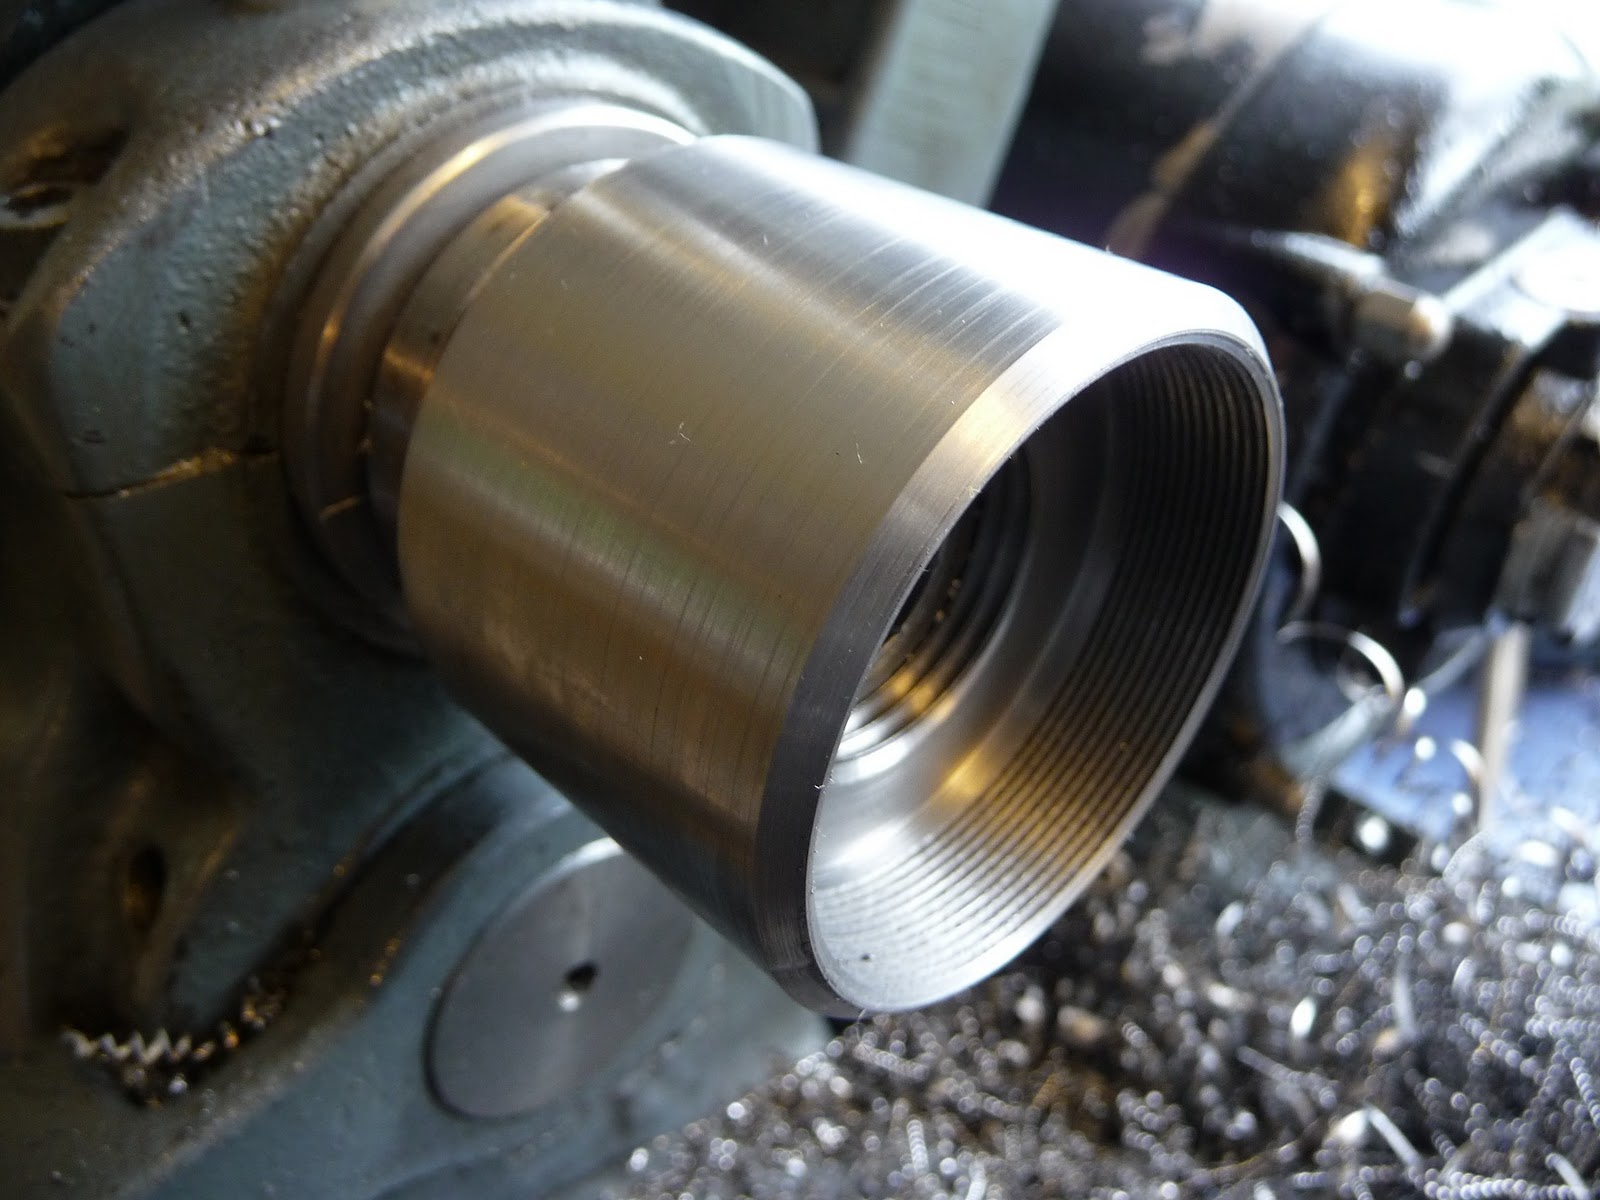
This new chuck can then be mounted on the Myford dividing head (same thread and register) and the setup as per the following photo.

Indexing the castellations with the dividing head mounted on a swivelling slide mounted on a fixed slide.
The cuts are made in one pass at full depth, the depth being advanced with the cross slide and the cut being fed with the fixed vertical slide. The swivelling vertical slide is locked in place with it's gib strips, in fact every slide not in use was locked to maximise rigidity on such a contrived setup. Also note that I needed to make an arbor for the slitting saw to use between centres. I did buy a cheap Chinese arbor that was so eccentric that it was unusable, the saw was only cutting on a few teeth at a time rather than all of them, this caused massive vibrations and chatter and much anxiety. Just goes to prove that you get what you pay for I guess. I had intended to put a grub screw and a copper disc at the bottom (same as myford does when locking a grub screw on a thread) into the body of the chuck to secure the races but I found this was unnecessary. I simply placed a rubber sheet on the bench and the race screwed into the chuck onto this, then applying downwards pressure whilst turning I could tighten or loosen the race from the chuck, the rubber gripping the race to allow it to be tightened securely. The actual machining took just a few minutes per race whilst making the chuck, the arbor and the setup took many hours. I'm pleased with the results though.
The next component to be made is the hub that rotates in these races. First though, I need to machine a test piece to ensure that I have the clearances correctly calculated. The design of the bearing is such that the balls are loaded by inserting them up through a hole into the middle of the bearing. The placement of this hole is critical and only has a 5 thou margin of error. Too close to the outer race will impinge on the bearing surface and too close to the centre will not give clearance for the balls to be inserted past the lower flange of the race.

When I was measuring the original machine, I wondered what this hole was for. It's only as I came to draw up the bearing design that I realised that it can't be assembled without it.

Here's one I made earlier.
The complete bearing is loaded as follows

Screw both races into the bearing housing, the inner race in it's correct location and the outer race fully screwed in up against the inner race.

Load 15 X 1/4" balls into the inner race, there's plenty of clearance at this point so these can all be loaded from outside.

Hold the inner race up against the balls so that they don't fall out and orient the hole to be at the top.

With the outer race screwed fully in against the inner race there is just clearance (the 5 thou mentioned earlier) to poke the remaining 15 balls into the outer race through this hole.

Then screw the outer race out to make contact with the balls and lock the race with the castellations. The inner race is locked with a grub screw.

The inner row of balls is protected by a labyrinth seal partly formed by this flange.
In other news, our festive season here has been punctuated by a series of disasters.
1) The pre Christmas revelry was rudely interrupted by another swarm of nasty aftershocks, lots of magnitude 5 somethings and one magnitude 6. I was riding home when the 6.0 struck and I didn't feel it, weird eh? We have lots more cracks in our house and the workshop was thrown around a little. I was making a final cut one morning when we had a 5.1 or so and my lovely machined surface became a seismograph, I think I'll leave it as is. Things are beginning to quieten down a little now but I've still been woken three times this week, we've had several hundred aftershocks in the two weeks since Christmas.
2) Fortunately we had a holiday booked up in the Marlborough Sounds between Christmas and new year, we were going to walk part of the Queen Charlotte Track and stay at lodges rather than camp, The drive up was in Beautiful sunshine and as we started the walk it began to rain. It rained (hard) for the next 4 days non stop but then cleared up just as we were driving home again. Nice.
3) For Christmas I'd bought each of the kids a computer for their mountain bikes, so they were keen to try them out. We were enjoying the track at McLeans Island when my wife had a small spill. Very low speed and she'd managed to get a foot down so it didn't look too bad, turns out she needed 14 stitches. Of course, we were miles from a road and the ambulance had a bit of a nightmare getting to us but the St. John dudes were fantastic, very calm, very professional. Top marks guys. You begin to realise how small the population is in NZ when sat at the side of a mountain bike track. My wife seemed to know every other person that rode past, either that or she had taught them at some point.

6 inside and 8 outside
4) And worst of all, I ran out of Swarfega. I bought some more at lunchtime and had the tub sat on my desk at work. Tinkerbell, who sits near me, commented that "Swarfega smells like Dads". She is of course, absolutely correct.


